
Every year, I promise myself that I’ll start working on my Christmas projects well in advance. Yet, every single time, I end up sitting there at midnight on December 20th (and for New Year’s – sometimes even the 30th!) cutting out decorations. My fingers are stained with black soot from the laser cutter, the air is thick with the smell of burnt plywood, and my phone won’t stop buzzing with messages: “Could you make just one more?”
“Of course!” I reply, adding a smiley face. Meanwhile, internally, I’m cursing everything under the sun (the smiley is upside down in my head).
This year, I’ve decided to take a different approach – to plan everything ahead of time (even I find that funny!). Below is a list of Christmas projects for laser cutting: what they’re best suited for, how much time they take, and which ones are worth selling at craft fairs or offering as personalized gifts.
In short: the best laser-cut items for the holidays include personalized ornaments (featuring initials, names, family details, or photos), wooden advent calendars, tabletop Christmas trees, lanterns, and ornament stands. Start in early November – advent calendars need to be finished by December 1st, while orders for personalized items can be taken until mid-December (or even later, if you’re ready for another midnight). Most of these items are cut from 3 mm (1/8-inch) thick plywood.
Why should you start in November (or better yet, late October)?
The laser cutting itself is a fast process. However, everything else – test cuts, sanding, painting, engraving names, and packaging – takes a significant amount of time. If you sell your own creations, keep in mind that people start looking for Christmas gifts as early as mid-November, and fulfilling personalized orders requires extra time. Here is a simple plan:
- Early November – create samples, take photographs, and check material thickness as well as how well the individual parts fit together.
- Mid-November – build up a stock of your most popular items (for example, Christmas tree ornaments or small decorative trees).
- By December 1st – have your Advent calendars ready (otherwise, they lose their purpose).
- December 1st–15th – work on personalized orders: add names and dates, or create custom-named ornaments for the whole family.
- After December 15th – focus only on items that can be quickly cut and packed in a single evening.
1. Advent calendar – the project with a deadline
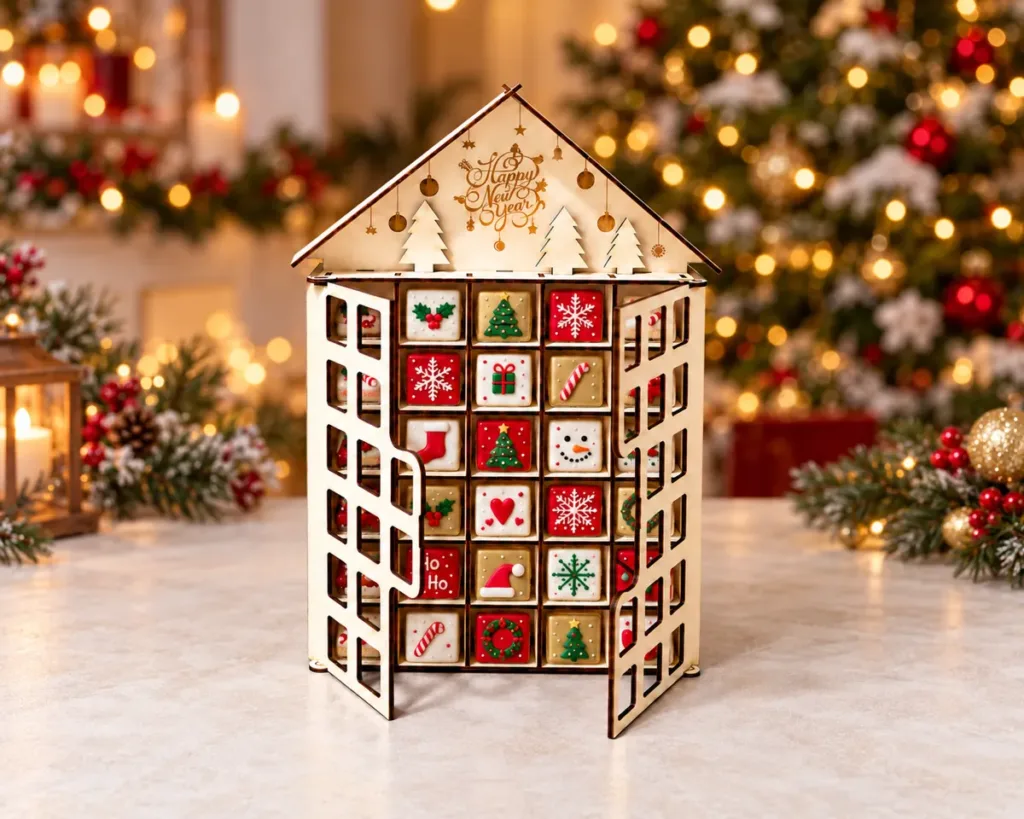
The wooden Advent calendar with treat cells is the only project on this list that has a strict deadline: it has to be on the shelf before December 1st. Each cube cell holds a chocolate or a small gingerbread cookie, and you refill it every year. Kids love it – and grown-ups secretly too.
Tip: cut it from 3 mm plywood and paint the numbers before assembly – it is much easier than painting inside small cells later.
2. Personalized ornaments – the best gifts and the best sellers
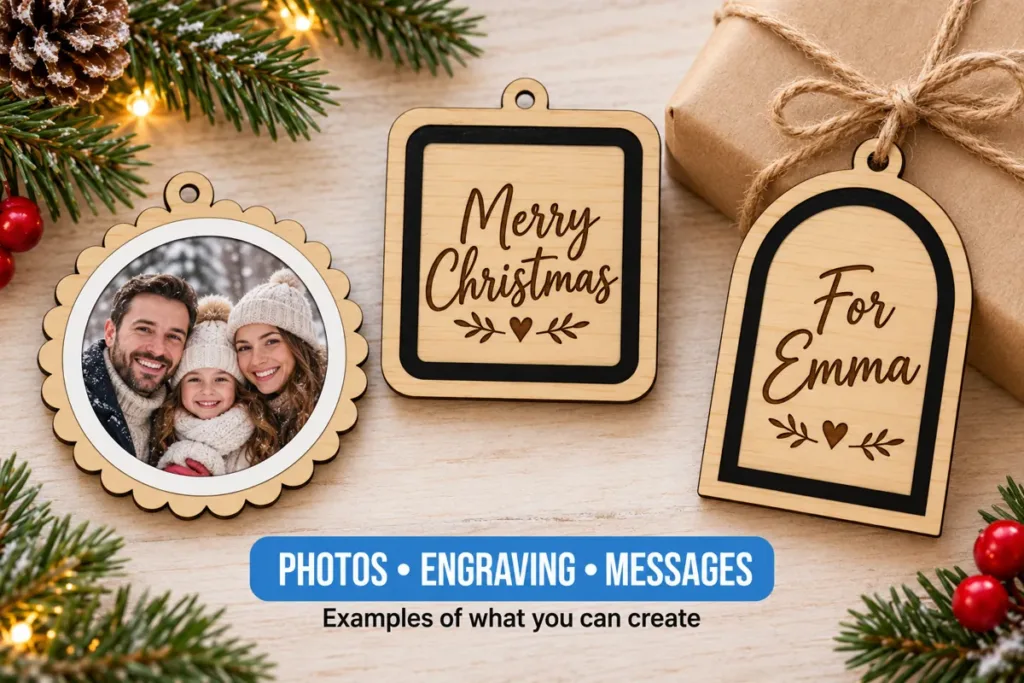
Ornaments are small, cheap in material, quick to cut and easy to ship. With a name or a date they turn into a gift people keep for years. These are the sets I would start with:
Alphabet ornaments A–Z
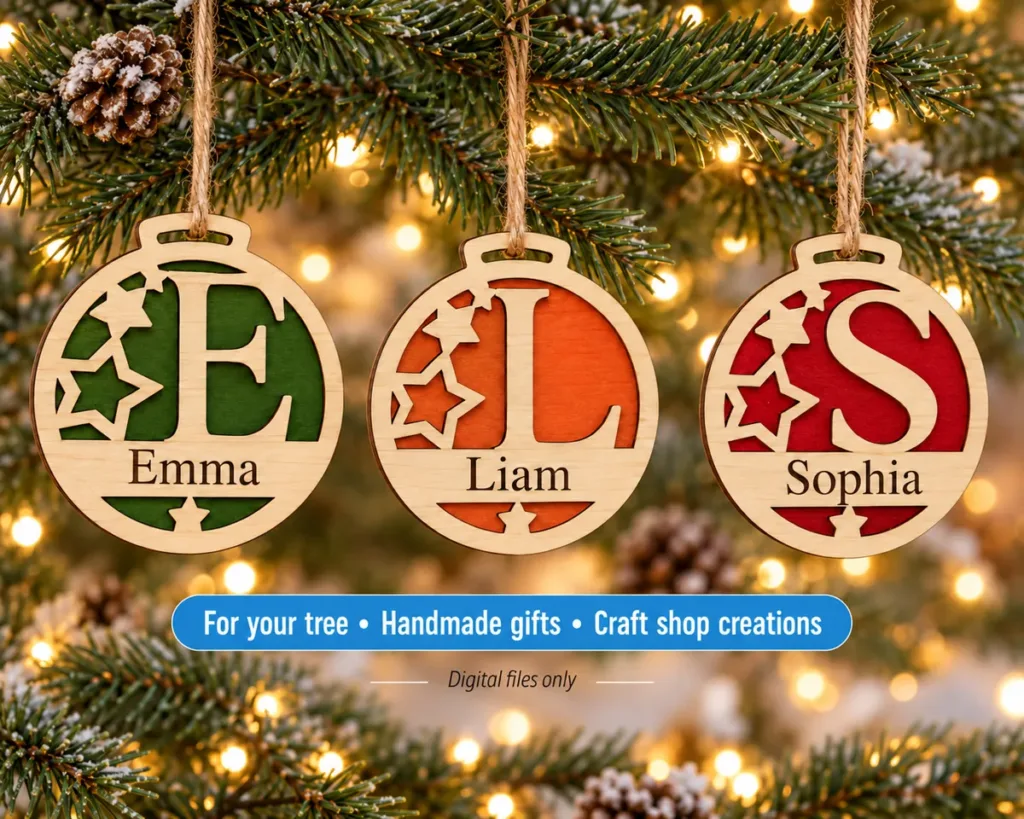
26 layered letter baubles – one for every letter. Hang a whole name on the tree, or give each guest at the Christmas dinner their own initial. They also work as name tags on gift boxes.
Gingerbread family ornament
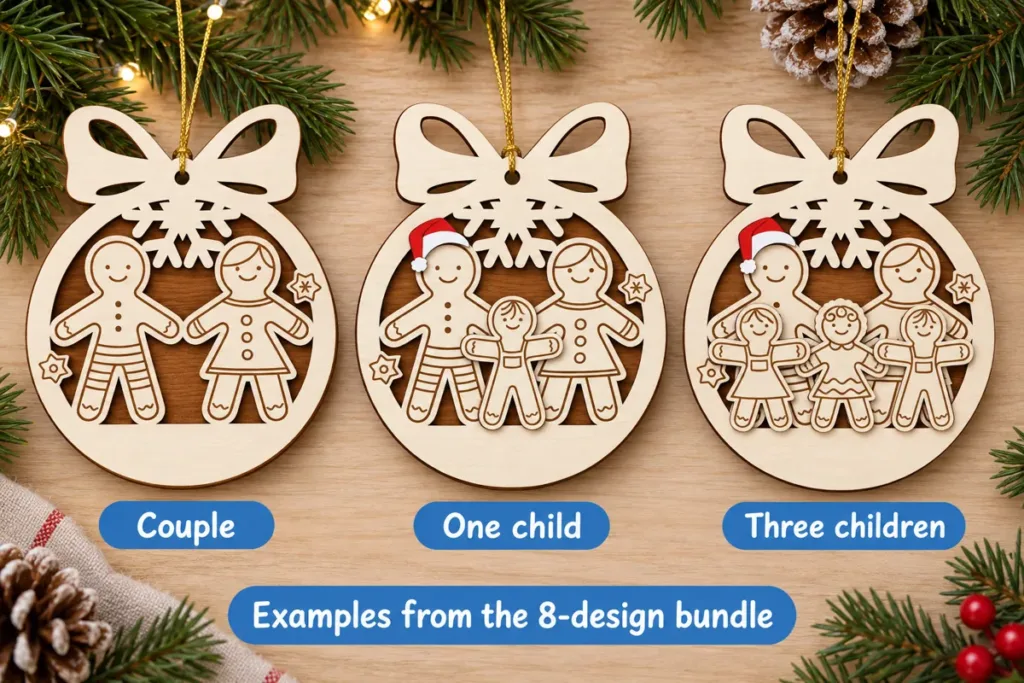
A gingerbread family inside a bauble: parents, kids and the family name. Add as many children as you need. This is the classic “first Christmas in the new home” or “our family 2026” keepsake.
Memorial ornaments
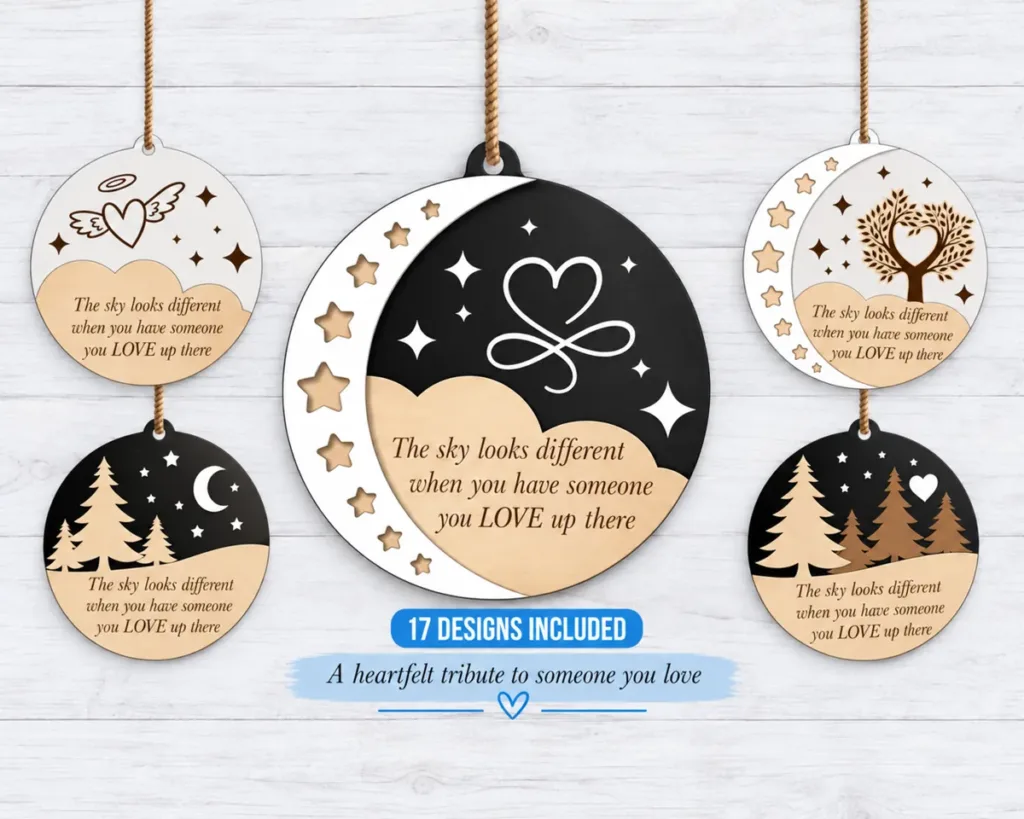
Christmas is also the time when we miss someone. The 17 memorial ornaments carry the words “The sky looks different when you have someone you love up there” and have space to engrave a name. A quiet, meaningful gift – people often order more than one for the whole family.
Photo ornaments and blank shapes
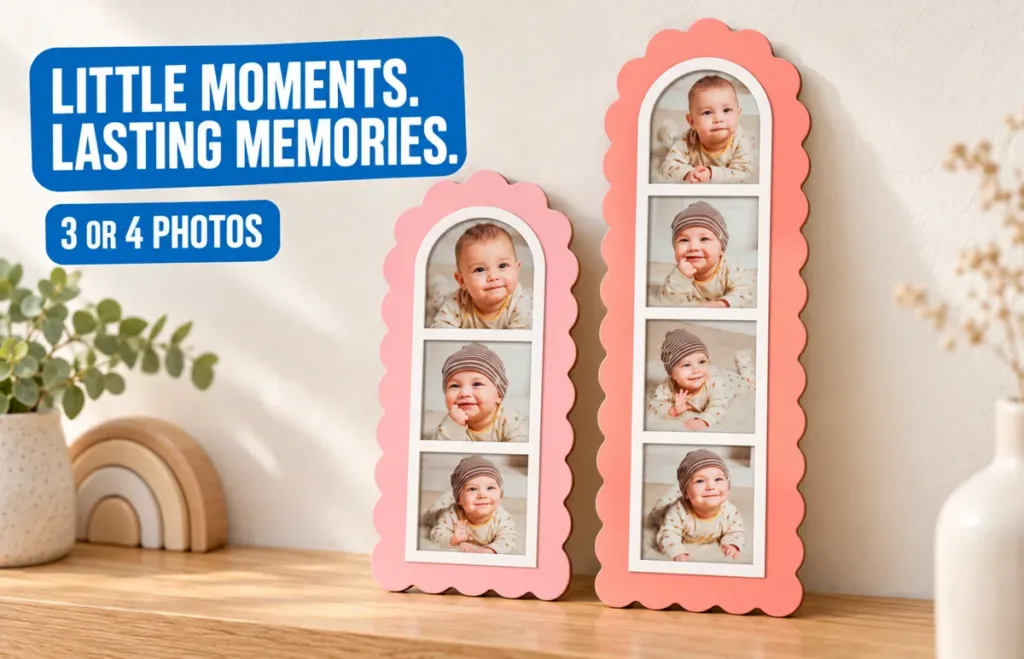
The ornament photo strip frame holds 3 or 4 small square photos – perfect for baby’s first year or a year-in-review of the family. And if you like to design your own text, the 14 blank ornament and tag shapes give you ready frames with a hanging hole: engrave anything, from a joke to a wedding date.
3. Tabletop trees and lanterns – decor that sells in sets
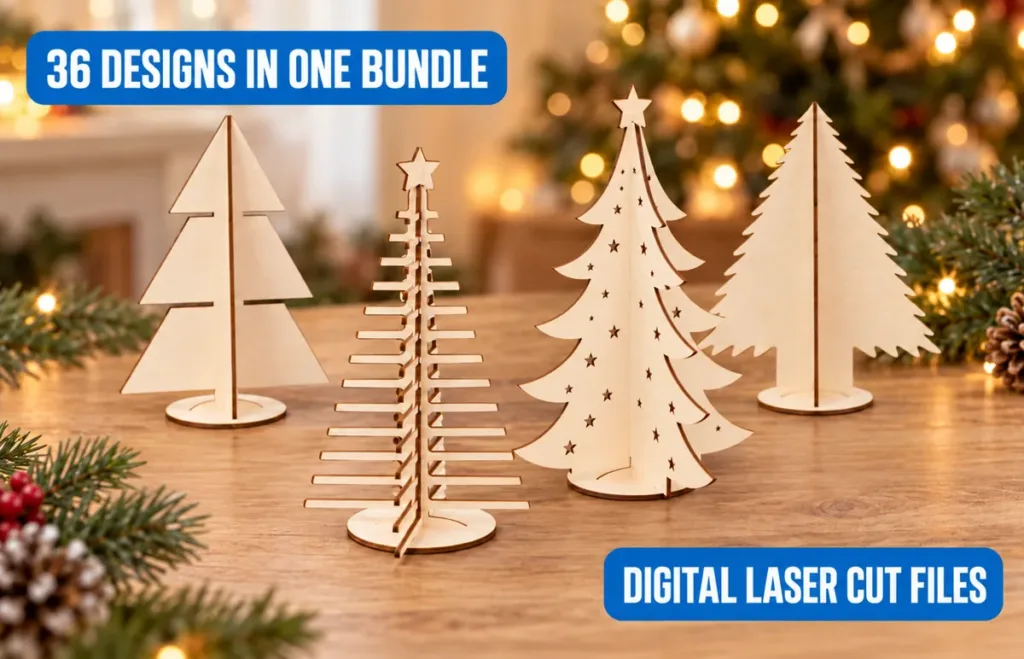
Not everyone has room for a big tree. The 36 minimalist tabletop trees stand on a desk, a windowsill or a shelf. Cut a few sizes and group them – a small wooden “forest” looks great on a market table and people often buy two or three at once.
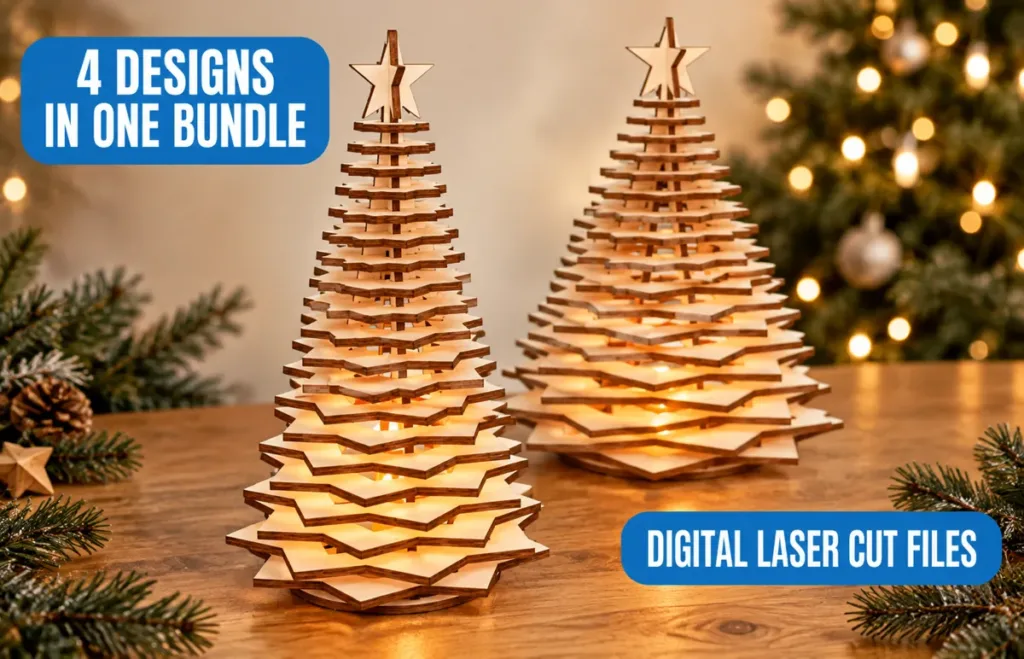
For cozy evenings, the 3D Christmas tree lanterns are made of interlocking layers with an LED tea light inside. Please use LED candles only – plywood and open flame are not friends.
4. Ornament stands – show off your favorite baubles
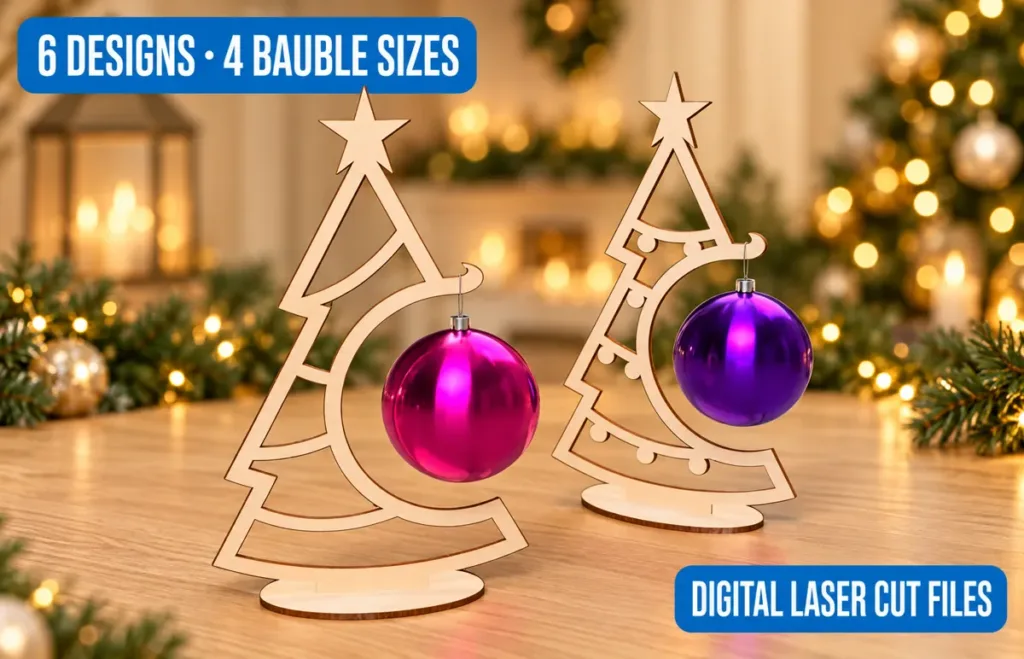
Some ornaments are too beautiful to hide among the branches. A wooden ornament stand turns one glass ball into a small table decoration. The set of 6 Christmas tree stands fits balls from 60 to 100 mm – and you can also pick single designs with stars, garland, circles, bubbles or geometric patterns in the Christmas collection. A nice idea: give a stand together with a hand-painted ball.
Material and cutting tips
- 3 mm (1/8″) plywood is the best choice for ornaments and small decor: light, cheap and easy to paint.
- Do a test cut first. Every laser and every sheet is different, so check the slot fit on a small piece before cutting the whole project. My free Kerf & Fit Test does it in one small cut and tells you the exact kerf. (New to the word? Here is what kerf is, in plain words.)
- Mask the surface before engraving names – the soot will not stain the wood.
- Finish with a clear matte varnish – ornaments last for years and do not collect dust.
- Use satin ribbon or jute twine for hanging – it photographs better than plain thread.
FAQ
In early November. Use the first two weeks for test cuts, samples and photos, and finish Advent calendars before December 1. Personalized orders with names usually come in December 1–15, so leave time for them.
3 mm (1/8″) plywood works for almost everything in this list: it is light enough to hang on a branch and strong enough for layered designs. If your sheet is thicker or thinner, check the slot fit with a test cut first.
Yes. You can sell the finished, assembled items made from these templates – at a craft fair, in your shop or as custom orders. The only rule: the digital files themselves cannot be shared or resold.
The files come in SVG, DXF, AI, CDR and EPS and work with Glowforge, xTool, LightBurn and most CO₂ and diode lasers.
Type the name in your laser software, place it on the ornament and set it to engrave (or score for a thin line). Cover the wood with masking tape before engraving so the soot does not stain it.
Ready to start your Christmas season?
All the projects above are instant downloads in SVG, DXF, AI, CDR and EPS formats and work with Glowforge, xTool, LightBurn and most CO₂ and diode lasers. Pick one or two, cut a test this weekend – and enjoy a calm December for once.
Merry Christmas and happy cutting! 🎄
– Pavel