
A photo ornament is the kind of gift people keep for years: baby’s first Christmas, the dog in a Santa hat, grandparents with all the grandkids. Every December it comes out of the box again.
A laser can engrave a real photo on wood, and you don’t need to be good at photo editing. Here’s how to pick the right photo, turn it into a laser file and engrave it on a wooden Christmas ornament – so it looks like the photo, not like a brown smudge.
Short answer: pick a bright photo where the face fills most of the picture, and a light wood like birch plywood or maple. Turn the photo into laser dots at your laser’s resolution – my free Photo to Laser Engraving tool does this in your browser – then engrave a small test card on a scrap first. When the test looks right, engrave the photo on the ornament and cut the outline last.
How a laser engraves a photo
A laser can’t burn “a little bit grey” – it either burns a dot or it doesn’t. So a photo is turned into thousands of tiny dots first: few for light parts, many for dark parts, like an old newspaper photo.
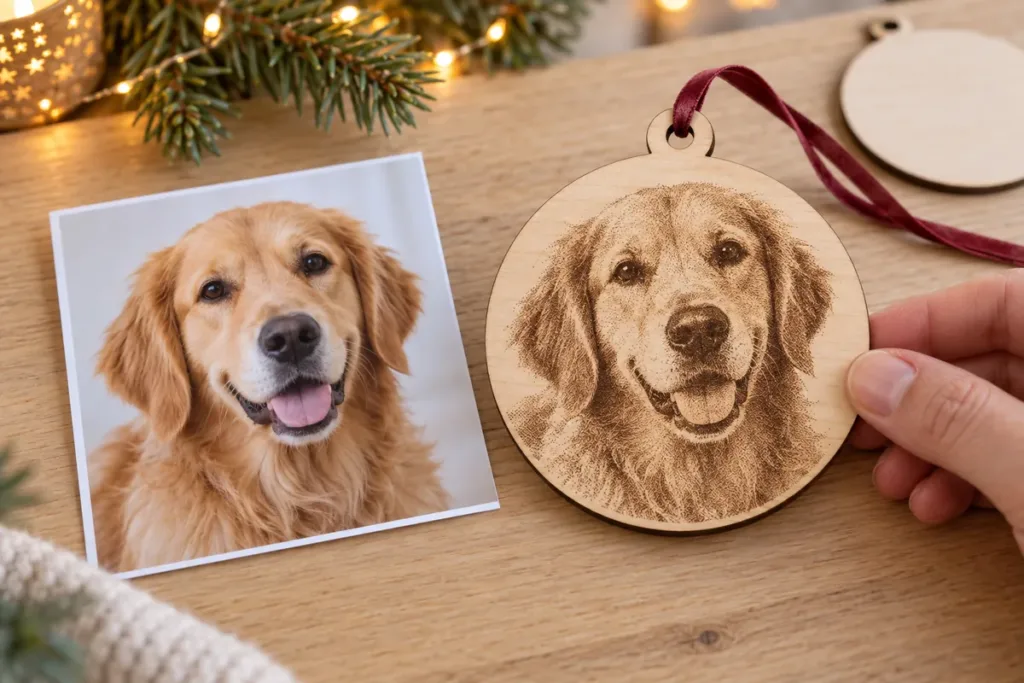
Turning a photo into dots is called dithering, and the tool below does it for you – with the right dot size for your laser and the right brightness for wood.
Pick the right photo
This step decides everything – a photo that looks fine on your phone can turn into a blur on wood:
| Photo | On wood | Why |
|---|---|---|
| One face, close up, good light | great | big shapes, clear eyes |
| A pet against a plain wall | great | fur and contrast engrave well |
| The whole family far away | poor | each face is only a few dots |
| Dark or night photo | poor | comes out as a brown blur |
| Busy background | so-so | crop it or pick another shot |
Got a group photo? Make one ornament per face, and crop so the face fills about two thirds of it.
Have a photo in mind? Drop it into my free Photo to Laser Engraving tool, pick wood and your laser, and download a ready-to-engrave PNG at the right resolution – plus a small test card to find the best look before the real ornament. No sign-up, no email, and your photo never leaves your device.
Turn the photo into a laser file
Open the free Photo to Laser Engraving tool and follow these steps:
- Choose your photo. JPG, PNG or WebP from your phone is fine.
- Pick the material and your laser – wood, and diode, CO2 or fiber. The tool sets the dot style, brightness and resolution for you: 254 DPI for diode lasers, 300 DPI for CO2.
- Type the width of the photo on your ornament – for example 70 mm for a round ornament about 80 mm across.
- Look at the “On material” preview. If it looks too dark, move the Look slider towards Lighter.
- Download the test card and engrave it on a scrap of the same wood (see the next step).
- Download the PNG. Its size and resolution are saved inside the file.
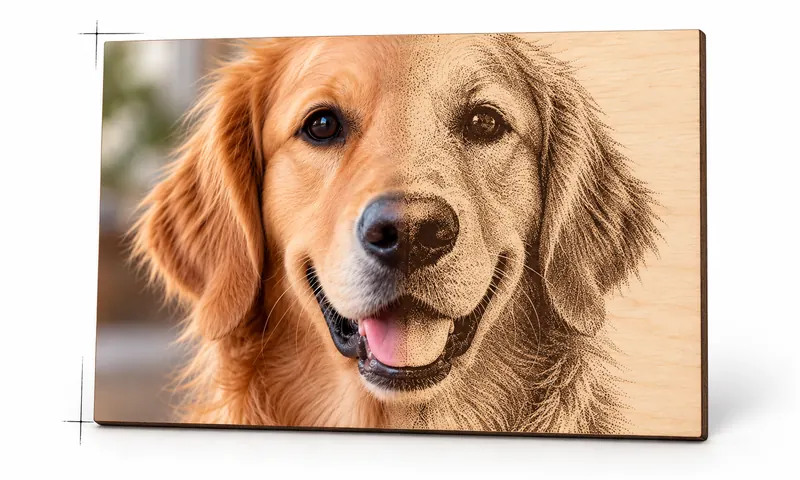
Engrave a test card first
The test card is nine small squares from the middle of your photo: rows lighter, as set and darker, columns with three dot styles. Engrave it with your usual photo settings and click the best square in the tool’s Test card tab – its settings become yours.
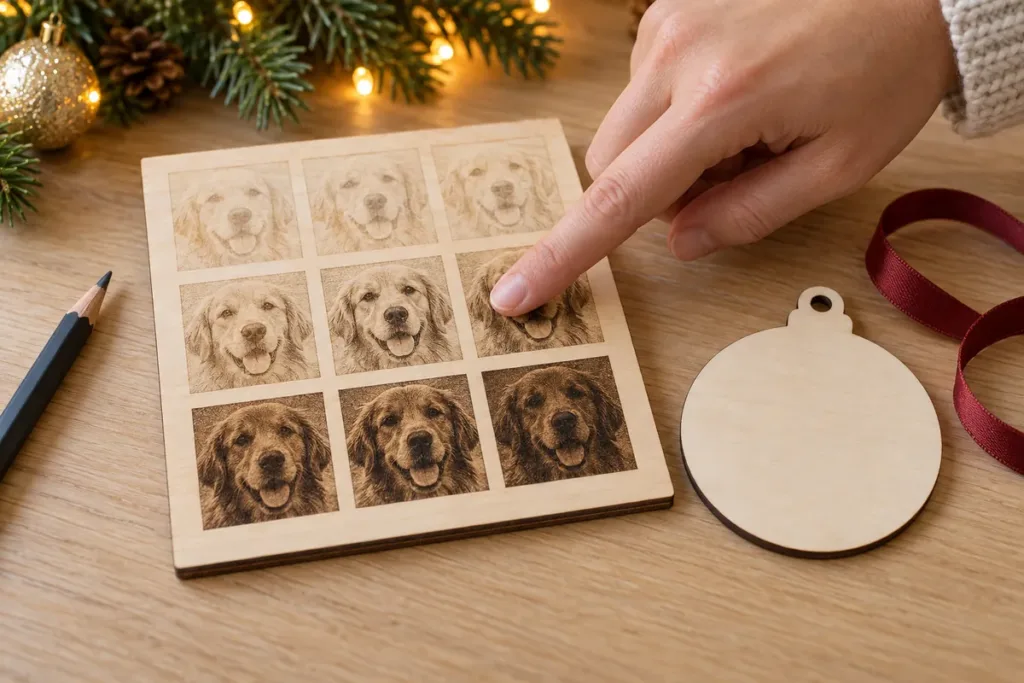
Not sure what power and speed to start with? Burn my free Material Test grid on the same plywood first. And if the test card looks blurry everywhere, check your focus with the Focus Test – a photo shows a bad focus more than anything else.
Import it into your laser software
- LightBurn: import the PNG and set the image mode to Pass-Through. The photo is already turned into dots, so LightBurn must not do it again.
- xTool Creative Space: choose Grayscale, not Dot.
- Use the same line interval as the file: 0.1 mm for 254 DPI.
Put the photo on the ornament
You need the ornament shape – a round, tag or bauble shape with a ribbon hole. Draw a circle in your laser software or use the ready shapes in my blank ornament frame bundle.
- Place the photo in the middle of the ornament shape.
- Put the photo on its own layer in image mode, and the ornament outline on a cut layer.
- Keep the cut layer last in the list, so the laser engraves first and cuts last. If it cuts first, the ornament can move and the photo lands off-center.
- Press Preview, check, and start.
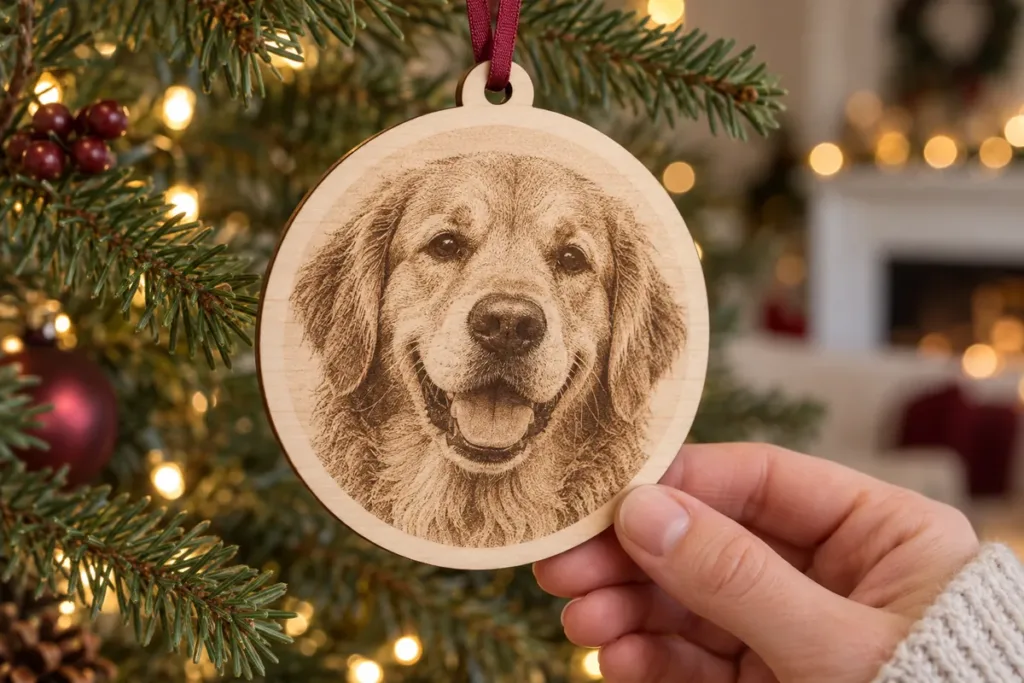
Making a dozen? Cut a jig first with my free Jig Generator – every blank sits in the same spot, and every photo lands in the middle.
Not just for the tree: a photo that stands on a desk
The same engraved photo makes a lovely gift all year round. My curved photo frame is a wooden panel that stands on its own, with the photo engraved straight onto the plywood and room for a name or a date below – no glass, no print, no separate stand. It comes in 14 sizes from 3.5 × 5″ to 8 × 10″, with files for 3 mm, 4 mm and 1/8″ plywood. Weddings, anniversaries, a pet that’s no longer with us – people keep these on the shelf for years.
Wood makes a big difference
- Birch plywood, maple, basswood – light and even, the photo shows clearly. The best first choice.
- MDF – even, but brown, so less contrast. Walnut and other dark woods hide the photo.
- Slate, acrylic, anodized aluminum work too – the tool inverts the photo for slate and mirrors it for clear acrylic, which is engraved from the back.
Finishing touches
- Wipe the smoke off with a slightly damp cloth. Don’t sand the photo – sanding takes the dots with it.
- A thin coat of clear matte spray keeps the wood clean and the photo crisp.
- Add a ribbon, and the name and year on the back. And never leave the laser alone while it works.
Common mistakes
- Faces too small. Crop tighter – one face per ornament.
- Skipping the test card. Every sheet of wood burns a little differently.
- Dark wood for a photo. Save walnut for names, use birch for photos.
Looking for more Christmas projects? Here are my Christmas laser cut ideas – advent calendars, ornament stands, tabletop trees and more.
FAQ
Yes. Most diode lasers engrave photos on wood nicely. Keep the resolution around 254 DPI (0.1 mm lines) – much finer than about 300 DPI and the dots overlap, so the photo burns too dark. The free Photo to Laser Engraving tool sets this for you.
About 70–90 mm (2¾–3½”) across is a good size for a tree. Crop the photo so the face fills most of it – a face smaller than about 3 cm loses its eyes.
Not with my tool. The photo is turned into a laser file right in your browser and never leaves your device.
Yes, files made with the tool are free for personal and commercial use. Just make sure the customer owns the photo or has the right to use it.
A photo they’ll hang every year
Pick a bright, close photo, let the tool turn it into dots, test on a scrap, then engrave the real thing. It’s one of the easiest ways to make a gift that means a lot.
Happy cutting!
– Pavel